
Set up a reverse proxy with AWS and ngrok

If you’re deploying apps on AWS EC2 instances, you don’t just need to make its localhost server available to the public internet. You need a simple and reliable mechanism to isolate your service from direct internet access, protect yourself from DDoS attacks, and maybe even add features like bulk redirects, authorization, or geo-aware content.
Let’s walk through how to set up a reverse proxy on AWS for any upstream service, like a web app or an API. But first, let’s talk about why other solutions often fall short.
A traditional reverse proxy on AWS vs. ngrok
Jump back a decade or more, and you would have almost always accessed your app via a reverse proxy deployed via nginx or Caddy. That will certainly do the trick, but they’ve always been harangued by specific limitations, where you are:
- On the hook for configuring a proxy that works for all the paths available on your app, including DNS and IP forwarding.
- Forced to deal with certbot to manually provision your SSL certificates.
- Locked to a specific AWS region, which may be distant from your customers, causing latency issues for them.
- Unable to scale your reverse proxy, or operate multiple nodes as a reverse proxy, without creating additional instances through a managed service like AWS Elastic Beanstalk—and then writing complex configurations.
- Defenseless against DDoS attacks or other abuse, which will take your reverse proxy down and your entire EC2 instance with it.
- Without caching, which means every request costs your EC2 instance the full brunt of CPU cycles.
- Forced into using complex CLI tooling to parse logs and cobble together some semblance of observability.

The much faster—and more modern—path is opting for ngrok, which gives you:
- A lightweight agent for handling ingress of public traffic, much like a reverse proxy on AWS, that doesn’t require complex configuration.
- Automated certificate management, even when you bring your own domain.
- Built-in DDoS protection and zero-ops scalability to handle normal traffic spikes without operational to-dos.
- Caching and geo-aware failover via Global Server Load Balancing (GSLB).
- Simple paths to enabling powerful features like redirects/rewrites, authentication, and more.
- Cloud-based observability via the Traffic Inspector.
As a developer, wouldn’t you rather spend time improving your app over learning operations, security, and networking fundamentals on the fly?
How to reverse proxy on AWS to an API endpoint with Flask and ngrok
You only need to things to follow along:
- An AWS account with privileges to create new VPCs and EC2 instances.
- An ngrok account, which you can get entirely for free!
We’ll get you set up with the rest—time to get ngrok-ing.
Set up your AWS EC2 instance and install ngrok
Before provisioning your EC2 instance, create a VPC in your VPC Console.
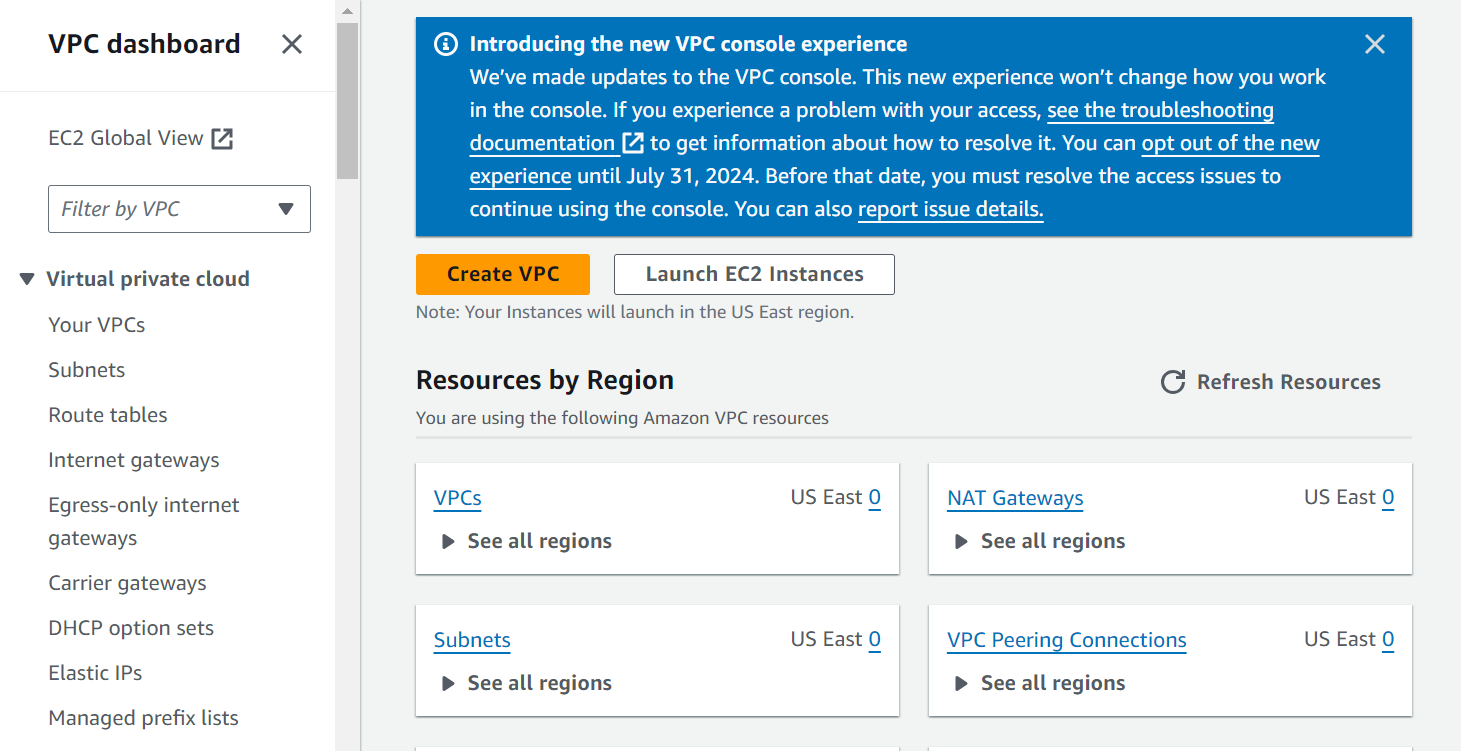
Navigate to Create VPC. You should see a window that looks like this:
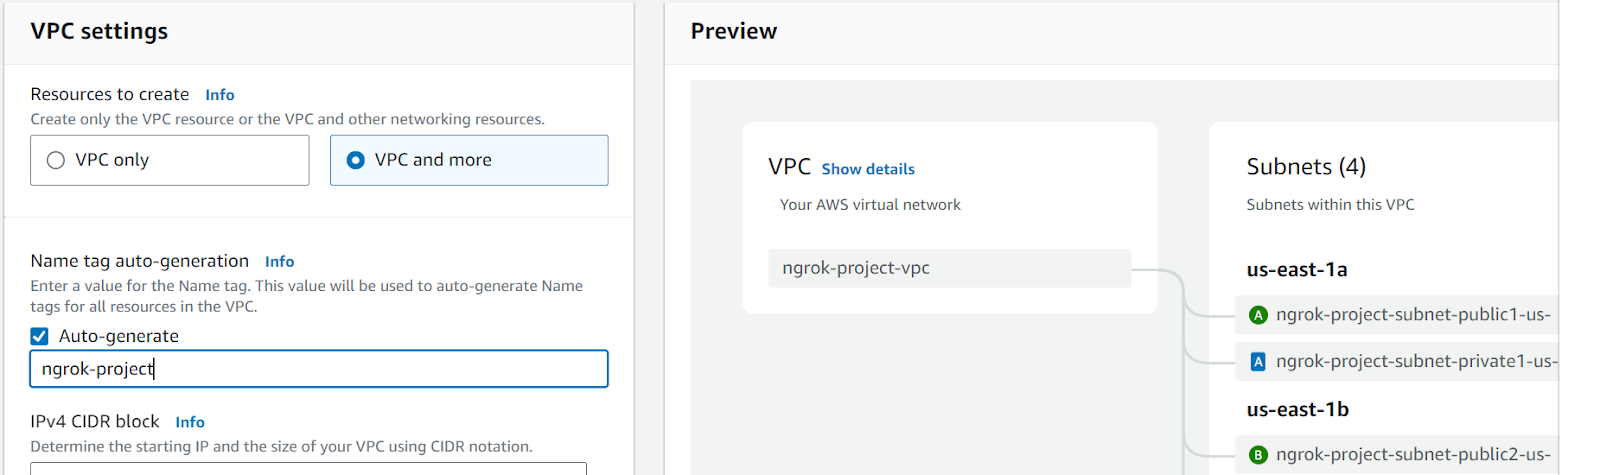
Select VPC and more, then Auto-generate. Give your VPC a unique name, like ngrok-project, then click the Create VPC button. AWS needs about ten seconds to set up your VPC, then you can navigate to your EC2 instance, where you should see a similar dashboard to this:
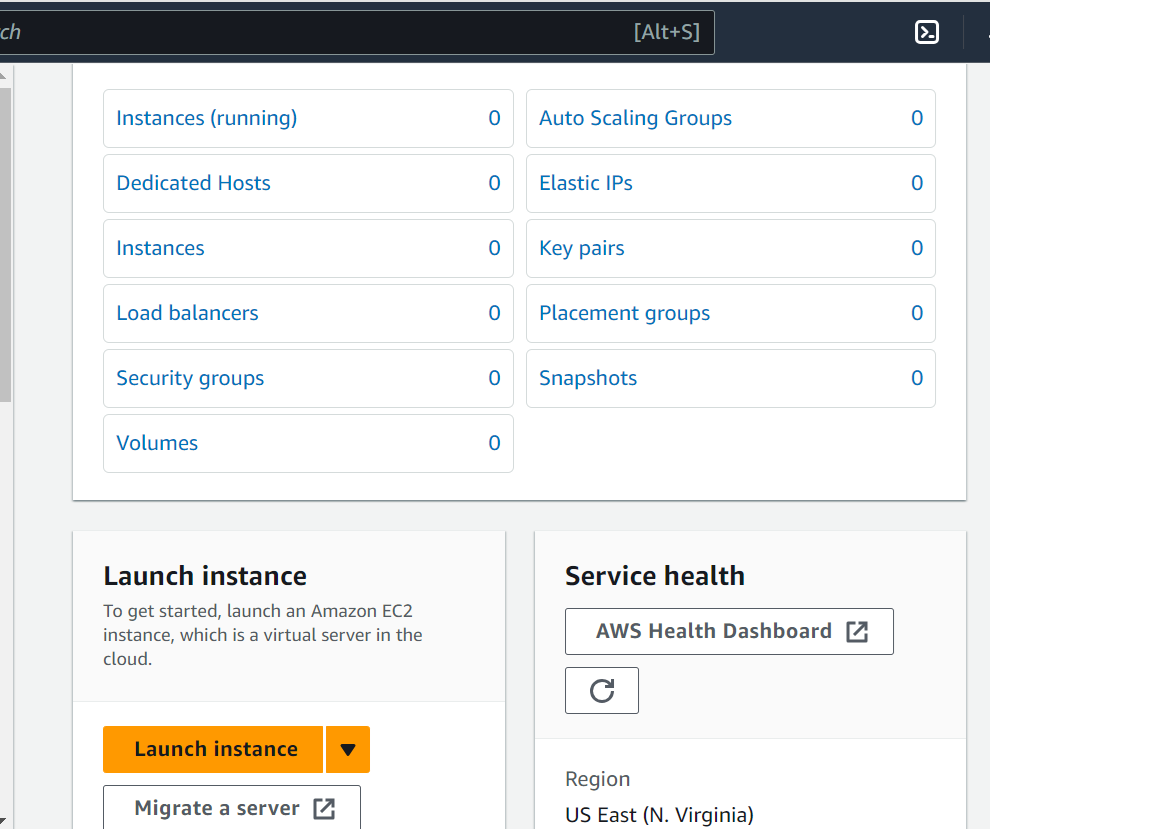
Click Launch instance to open a similar window as below:
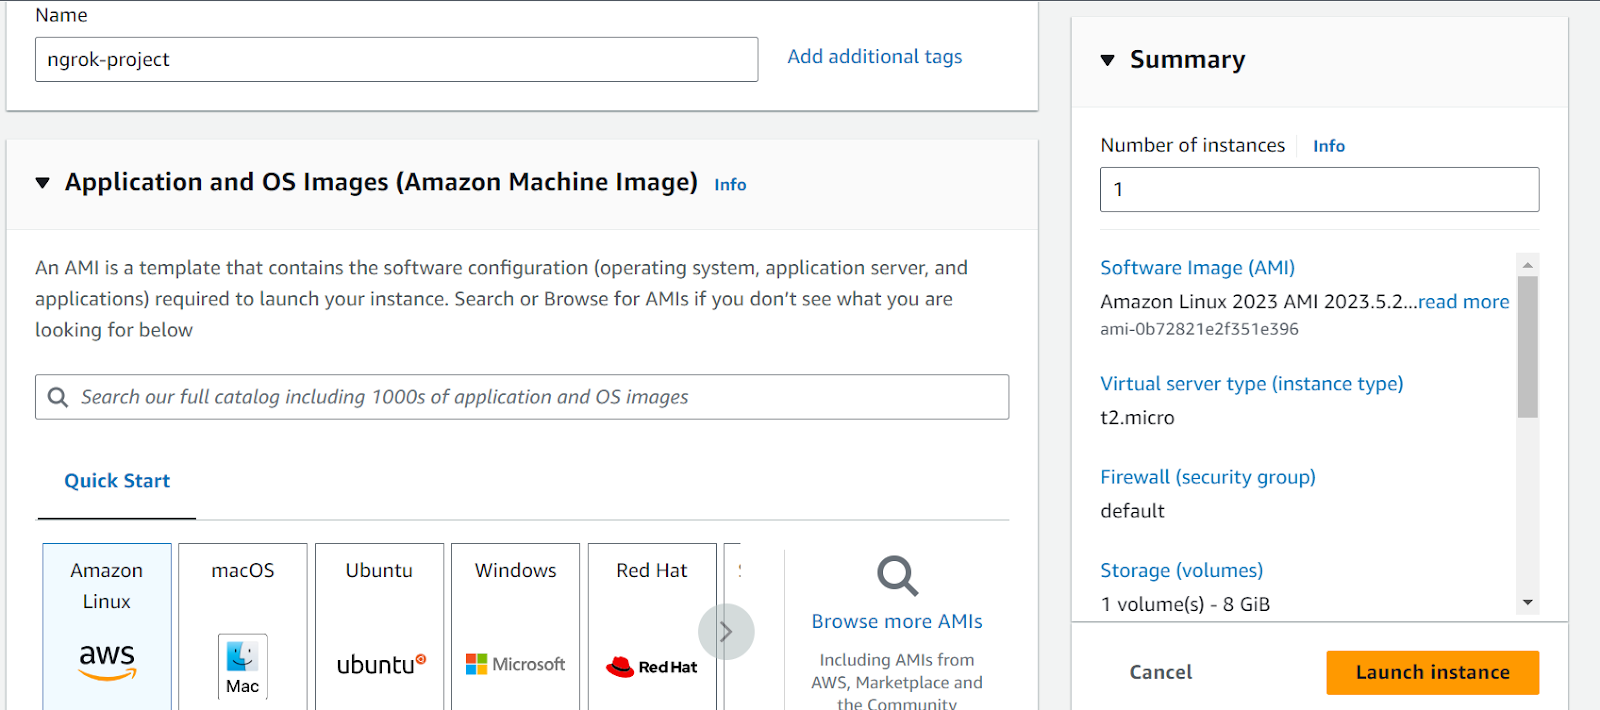
Give your EC2 instance a name—going with the same ngrok-project is fine. Select the AWS Linux instance. Select your key-pair as default (proceed without a key-pair), and in network settings, navigate to Select existing security group. Now click the Launch Instance button.
The EC2 instance will initialize in a few moments.
Install ngrok on your AWS EC2 instance
Go to CloudShell or find your instance in your list of services. Once CloudShell starts up, run the following command:
wget https://bin.equinox.io/c/bNyj1mQVY4c/ngrok-v3-stable-linux-amd64.tgzWhen the download finishes, run the following:
sudo tar xvzf ./ngrok-v3-stable-linux-amd64.tgz -C /usr/local/binThe only configuration required to use ngrok as a reverse proxy on AWS (or any other cloud!), you only need to supply your authtoken. Hop over to the Your Authtoken section of the ngrok dashboard.
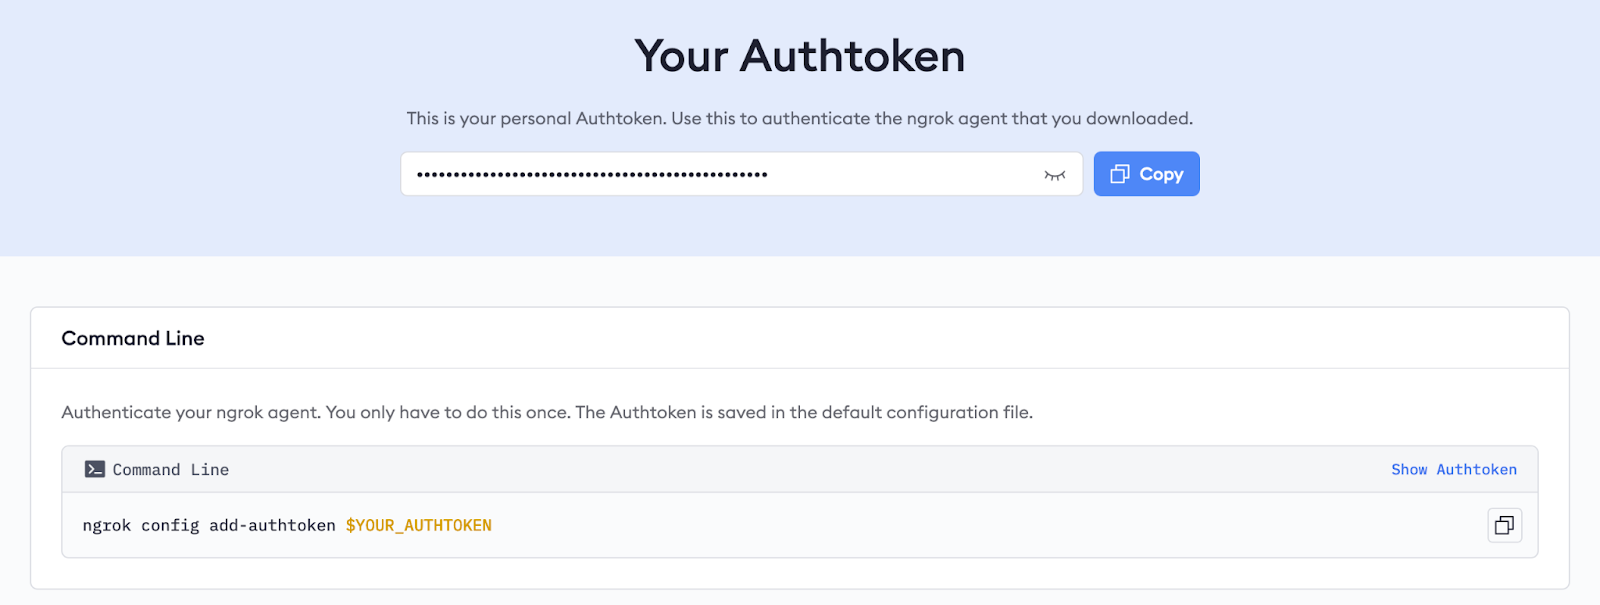
Click the Copy button and run the following command to add your authtoken to the agent’s persistent configuration:
ngrok config add-authtoken {YOUR_AUTHTOKEN}Start your reverse proxy with ngrok
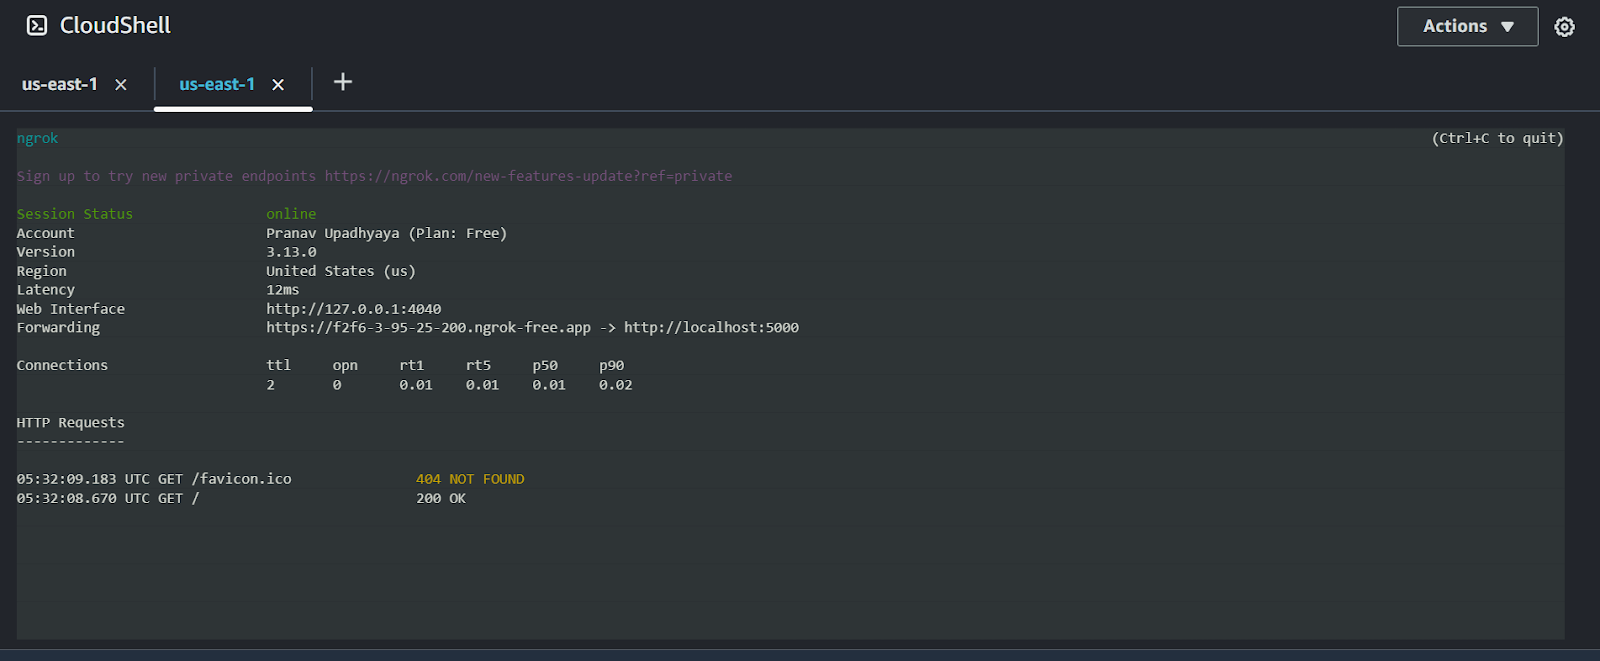
You can now use the agent to initiate a new endpoint to tunnel from the public internet to the ngrok agent, which then proxies it to app or service on EC2. For example, if your application runs on localhost:8080, you can create your endpoint, using a random ngrok subdomain, like so:
ngrok http 5000ngrok instantly provisions all the necessary networking and certificates required to encrypt and reverse-tunnel traffic to your app, then launches its terminal UI (TUI) with information about the domain where you can access your EC2-hosted app, real-time logs, and more.
For a permanent URL, we recommend setting up a custom domain through your DNS provider, which then allows you to create the same reverse proxy with only one extra setting:
ngrok http 5000 --domain {YOUR-CUSTOM-DOMAIN}Want a live demo of a ngrok-powered reverse proxy on AWS?
If you don’t have a fully-fledged app to run on your EC2 instance—yet!—you’re welcome to try this simple demo written with Flask and Python, which generates random bytes of data (up to 4,096 bytes) in a hex format. While it’s admittedly a very simple upstream service, it showcases the entire lifecycle of deploying ngrok as a reverse proxy.
On your EC2 instance, create a new file named randgen.py and paste in the following content:
import os
import codecs
from flask import Flask, request

app = Flask(__name__)

@app.route('/')
def index():
    rand_length = request.args.get('randlen')
    if rand_length == None:
        rand_length = 128
    else:
        rand_length = int(rand_length)
    return codecs.encode(os.urandom(rand_length), 'hex').decode()

if __name__ == '__main__':
    app.run()
Next, set up the Python project and run the API:
python3 -m venv .venv
. .venv/bin/activate
pip install Flask
python3 randgen.py
With the API running on localhost:5000 of your EC2 instance, you’re ready to set up ngrok as a reverse proxy. Create another window for AWS CloudShell and instruct the ngrok agent to ingress traffic to port 5000.
ngrok http 5000You’ll once again see ngrok’s TUI, with logs and details about your endpoint.
As before, you can opt for a static domain you own with one small change:
ngrok http 5000 --domain {YOUR-CUSTOM-DOMAIN}Learn more about secure tunnels and what else ngrok can do
Whether you’re testing a new app in development, want to share your progress on localhost with a colleague on another continent, or are prepping for production, ngrok instantly simplifies how you set up a reverse proxy on AWS. It layers in multiple security, scalability, and observability features while requiring less configuration and ongoing maintenance.
Start with your free ngrok account, and as you progress to production, check out our resources on a few of those valuable features:
- Enable Traffic Policy actions like rate limiting, IP restrictions, and URL rewrites/redirects.
- Run the ngrok agent as a service to recover automatically from downtime.
- Enable OAuth-based authentication to restrict access to only trusted visitors.
If you have questions about using ngrok as a reverse proxy on AWS, or simply want to share some love on how easy the process was, let us know in the ngrok community repo on GitHub!
